Fish Fajitas 

This is a quick and pretty light supper – ideal last night, when we were both in the office until after 8pm! The recipe is influenced by Rick Stein’s Baja Fish Tacos, from Coast to Coast

I went a bit overboard with the fish, as you can see above! I wanted to try both cod and sea bass to see which one works better in this recipe so I used two fillets of each. I can confirm that cod is the definite winner, and that is reflected in the recipe below. 

I served these with white wraps and shredded iceberg lettuce – if you wanted to be really virtuous, you could use leaves of iceberg as your wrap.
Ingredients (serves 2)

2 fillets of cod, bones and skin removed

100ml sunflower oil

For the batter:

200g flour

200ml sparkling water

2 eggs

For the salsa:

1 red onion, finely chopped

220g baby plum tomatoes, cut into 1/8ths

Juice of one lime

1 tsp sugar

1 red chilli, de-seeded and finely chopped (or 2 if you like more heat!)

Handful of coriander, chopped

For the guacamole 

2 avocados, peeled and pitted

Juice of 1 lime

1 red chilli, deseeded and finely chopped

To serve

1/2 iceberg lettuce, shredded

4 white wraps

Mayonaise or soured cream (optional)

Method

1. Combine all the ingredients for the salsa in a bowl; season with salt and pepper and set aside.

2. Mash the avocado with the lime juice, add the chilli and mix well. Season with salt and pepper and set aside.

3. Cut the cod into 2-inch chunks; season with salt and pepper and dust with a light dusting of flour.

4. Combine all the batter ingredients and mix in a food processor until smooth.

5. Heat the sunflower oil in a large deep pan (if you have a deep fat fryer, it would be handy here. I used a wok!) until very hot. Test it with a drop of batter – if it rises to the top, the oil is hot enough.

6. Dip each of your fish pieces in the batter, holding them above the bowl for a minute so that any excess batter drips off, then drop them into the hot oil. Cook for about five minutes, turning once to ensure all the pieces are golden brown all over. Use a slotted spoon to remove them onto a warmed plate with kitchen paper.

7. Warm the tortillas for 30 seconds in the microwave.

I like to serve everything on the table and let everyone help themselves in assembling their tortillas! Enjoy!


Harissa salmon, wilted spinach and sweet potato wedges

My husband is away with work this weekend, which means that I can cook all of the things that I love and he doesn’t! Top of this list is sweet potato; I’m not ashamed to admit that there have been entire weeks of my life that I’ve eaten roasted sweet potatoes and cauliflower cheese for dinner every night while el husbando has been away! 

This is a really quick and simple but delicious supper. What’s more, I have a calorie tracker on my phone and was amazed to find that this whole plate comes in at under 500 calories! I made double, keeping the leftovers for lunch; my colleagues in the office will be jealous!

Ingredients (serves 2)

2 salmon fillets (approx 120g each)

2 tsp rose harissa 

3 sweet potatoes, peeled and cut into 8 long wedges each

1 tbsp ground cumin

1 tbsp paprika

1 tsp ground coriander 

1 tbsp extra-virgin olive oil

90g baby spinach

1 tsp ground nutmeg

Method

1. Preheat oven to 200C.

2. Place sweet potato wedges in a large baking tray. Add the olive oil, cumin, paprika and coriander along with a good dash of salt and pepper and use your hands to mix everything well. Pop in the oven on the top shelf and roast for 20 minutes, shaking the tray every 5 minutes or so to make sure the wedges cook evenly on all sides.

3. Place the salmon fillets skin side down on a piece of tinfoil twice their size. Rub a teaspoon of harissa onto each fillet, then fold over the tinfoil to make it into a little parcel. Place on a baking tray and bake for 20 minutes, folding back the the last five minutes to let the salmon fillets crisp up.

4. Pop the spinach into a non-stick frying pan, put a lid over it, and cook over a gentle heat for 5 minutes, until the spinach has wilted. Add the nutmeg and salt and pepper to taste.

Easy Sauce Nantua

img_09911-1

I haven’t posted in a while as I have been really busy with work, including a trip to London last week for dinner at the Inner Temple, where I am an Academic Fellow.

I can say without hesitation that I have had some of the best meals of my life at the Inner Temple, and last week’s dinner was no exception! The main course was breast of duck with dauphinoise potatoes, Chantenay carrots, green beans and a black cherry sauce, which had a real kick to it. Desert consisted of a huge portion of sticky toffee pudding with malted milk ice-cream (divine – I cannot wait to get my ice-cream maker out again, once the Welsh weather takes a long-awaited turn for the better!).

However, the star dish of the evening for me was a quenelle of pike with a Sauce Nantua. I had never heard of Sauce Nantua before (and I think this may have been my first time eating pike too), but this intensely fishy sauce was an absolute revelation. I spent most of my train journey back to Bangor wondering how I could recreate this delicious sauce from home!

Some internet research revealed that Quenelles de Brochet Sauce Nantua is a popular dish in Lyonnaise cuisine. Amazingly, they even sell a tinned version in France!

quenelle-de-brochets-sauce-nantua-400-grs-conserves-de-plats-cuisines

The sauce takes its name from Lake Nantua, where the crayfish that give the sauce its fishy base are caught, and pike (‘brochet‘) are caught from the river Rhône. The reason they are served in quenelles is that pike is a very bony fish, so it makes sense to create bone-free dumplings by mixing the de-boned fillets of fish with cream, eggs and seasoning and leaving the mix to set overnight.

Some day, when I manage to source both pike and whole crayfish in North Wales, I will make this recipe. In the meantime, I set to making a cheat’s version, seen above, served with sea bass fillets and wild rice.

Ingredients (serves 2)

25g butter

5 shallots, very finely chopped

1 red chilli, deseeded and very finely chopped

1 clove garlic, very finely chopped

25g flour

1 tbsp tomato puree

pinch of saffron

pinch of cayenne pepper

125ml fish stock (I used one Knorr fish stockpot)

1/2 tin chopped tomatoes

120g crayfish tails (I used these; if you can get unpeeled crayfish tails, even better – use the shells to make an even more intense sauce)

75ml cream

Method

1. Melt the butter, and sauce the shallots, garlic, and chilli over a low heat until soft.

2. Add the flour and stir, then add the tomato puree, saffron, cayenne pepper and a pinch of salt and pepper. Gradually add the tomatoes, stirring constantly, and the fish stock. Bring to a boil then add the crayfish tails. Leave to simmer over a low heat, stirring every now and again, until the sauce has reduced by about half and the flavour has intensified. Taste, adding more seasoning if necessary.

3. Liquidise the sauce in a blender until it is a smooth consistency. You can pass it through a sieve at this stage if you prefer a smoother sauce (I didn’t).

4. Return the sauce to a saucepan, gradually heat, and add the cream. Serve immediately.

I had some leftover sauce, which I served for lunch the next day with a boiled egg and some crusty bread, scattered with some parsley leaves. I love throwing together lunch from what’s left in the fridge, and this one was surprisingly tasty (although the photo below admittedly looks a little odd – I wanted to recreate the look of the clean quenelle of pike sitting in the thick, rich, Sauce Nantua that I had seen two nights previous, but failed somewhat on that front!)

img_0995-1


Celeriac, leek and mushroom pie

img_0949

Writing this blog has made me realise we eat a lot more red meat than we should! So I decided to remedy this with a vegetarian option tonight. I remember the days when celeriac was a super exotic ingredient seen only on Masterchef (usually in puréed form). These days, you can get it in almost every supermarket, and it’s in season around this time of year.

Ingredients (serves 4)

1 celeriac, peeled and chopped into small chunks

2 leeks, sliced

8 chestnut mushrooms, sliced

2 cloves of garlic, very finely chopped

A couple of sprigs of thyme, leaves picked

50g butter

500ml milk

3 tbsp flour

100g grated cheddar cheese

1 tsp dijon mustard

1 tsp wholegrain mustard

1 sheet ready-rolled puff pastry

1 egg, beaten with a drop of milk, to glaze

Method 

1. Preheat the oven to 200°C/180°C fan.

2. Melt the butter in a large saucepan. Add the celeriac and leeks, stir, and cover with a lid. Leave them to saute for around 8 minutes, stirring every once in a while.

3. Add the mushrooms, thyme and garlic; stir and cover. Leave for 5 minutes, stirring frequently.

4. Add the flour to the mix and leave to cook for 1 minute. Add the milk, stirring constantly. Cover and leave to simmer over a low heat, stirring every once in a while. After  around 10 minutes, test the celeriac to see if it’s soft; if not, leave the mix to cook for another few minutes until it is the texture you like.

5. Add the cheese, the mustards, and a pinch of salt and pepper. Taste and add more seasoning or mustard if you like.

6. Pour the mixture into a baking dish and place the puff pastry sheet over the mix. Trim the edges of the pastry; you can use these to make some shapes on the pastry lid, or set them aside for another purpose. Use a fork to crimp the edges of the pie, brush with your beaten egg mixture and bake for 20 minutes, until the pastry is golden and crispy.

IMG_0948.JPG
Mmm… Pie!

Chinese New Year Feast: General Tso’s Chicken; Changsha Beef; Egg Fried Rice; Pak Choi & Beansprouts

dscf3523

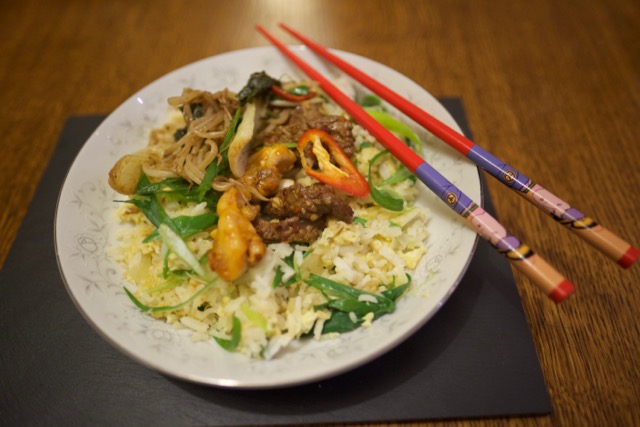
Happy Year of the Rooster! What better excuse to indulge in a feast of Chinese cuisine! The chicken and beef recipes below are from Fuchsia Dunlop’s Revolutionary Chinese Cookbook; her recipes are so lovely and easy to follow. The egg fried rice and pak choi dishes are my own recipes – the latter just using up stuff I had in the fridge.

There are a few unique ingredients below that are worth taking the trip to a specialty shop for – luckily, we have a huge Chinese supermarket in Bangor so I had no problem sourcing potato flour and Shaoxing rice wine. But if you don’t have access to such ingredients, cornflour works well in place of the potato flour, and you could use mirin or a dry sherry as a substitute for the Shaoxing wine.

The key to doing a buffet-style meal like this is to have all of your ingredients prepared in advance, as the cooking part happens quite quickly and everything is best served just-cooked. This is what my worktop looked like before I started the actual cooking!:

dscf3496

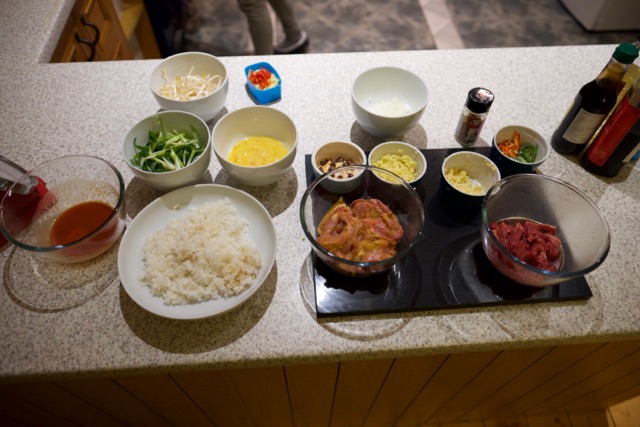
As such, I have not divided the ingredients by dish below – I thought it was easier than telling you to chop three scallions for one bit and two scallions for another element. But if anything is unclear, leave a comment below or send me a message and I can clarify!

Ingredients (serves 2)

120g basmati rice, cooked and left to cool

3 eggs

1 white onion, chopped into small dice

7 scallions, 6 chopped lengthways into fine shavings and 1 sliced on the diagonal

5 cloves garlic, very finely chopped

2 thumb-sized pieces of ginger, very finely chopped

2 red chillies, 1 de-seeded and very finely chopped; 1 sliced on the diagonal

3 baby pak choi, leaves picked

Handful of beansprouts

4 small boneless, skinless chicken thighs, cut into small chunks

1 sirloin steak, fat removed and sliced lengthways (against the grain) into thin strips

4 tsp sesame oil

300ml peanut oil (sometimes called groundnut oil)

3½ tbsp potato flour

1 tbsp rice vinegar

1 tbsp Chinese black vinegar

3 tsp dark soy sauce

5 tsp light soy sauce

2 tbsp Shaoxing rice wine

1 tbsp double-concentrate tomato puree

5 tbsp water

1 tsp salt

2 tsp cumin

1 tsp Chinese five spice

2 tsp dried chilli flakes

4 whole dried chillies, cut into thick slices with a scissors

Method

1. First, make your sauce for General Tso’s chicken. Mix the tomato puree, 4 tbsp water, 1 tbsp rice vinegar, ½ tsp potato flour, ½ tsp dark soy sauce and 1½ tsp light soy sauce and set aside.

2. Next, the marinade for your beef: mix 1 tbsp Shaoxing rice wine, 1 tsp each of the light and dark soy sauces, 1 tbsp water, ½ tsp salt and 1 tbsp potato flour in a small bowl. Mix in the beef slices and set aside.

3. Place the chicken chunks in a large bowl; add an egg yolk (keep the white!), ½ tsp dark soy sauce and 2 tsp light soy sauce and mix well. Add 2 tbsp potato flour and 2 tsp peanut oil, mix well and set aside.

4. Beat the remaining egg white with the other two eggs, a pinch of salt and a splash of sesame oil; set aside.

5. In a small bowl, mix half of your ginger and garlic, the finely chopped (de-seeded) red chilli, dried chill flakes and cumin and set aside.

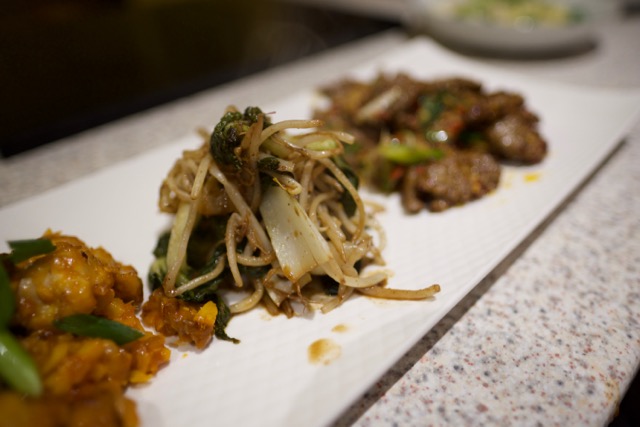
6. It’s time to start cooking! Heat 2 tbsp peanut oil in a wok over a high heat, add the pak choi and beansprouts and stir fry for a minute or so. Add the Chinese black vinegar, 1 tbsp Shaoxing rice wine, 1 tsp dark soy sauce and the Chinese five spice and taste; add more of any of the above ingredients if you fancy. Remove to a warm plate, cover with tin foil and set aside. Wipe your wok clean.

7. Pour in all but 1 tbsp of your remaining peanut oil into the wok; it should come up to about 1-1½ inch depth in your wok pan, and heat over a high heat until it just starts to smoke. Add the marinated beef; it will start to come apart as it cooks. Use a chopstick or wooden spoon to make sure all of the pieces get cooked, then use a slotted spoon to remove to a plate with a piece of kitchen paper on it to soak up the oil.

8. Bring the oil back up to a high heat, then add the chicken, making sure all the pieces are submerged in the oil. Allow to cook for a few minutes, until they turn a golden brown colour (you may need to take one out to test it). Remove with a slotted spoon onto a plate with a piece of kitchen paper on it to soak up the oil.

9. Transfer three tablespoons of the oil to a small pan or pot (for the beef), and two tablespoons into another, slightly larger, pan (for the chicken). Carefully pour the rest of the oil into a bowl for disposing later when it cools down. Clean and dry the wok.

10. Heat your remaining 1 tbsp peanut oil in the clean wok over a high heat. Put the two pans you have transferred oil to for your beef and chicken over a medium heat.

11. Add the chopped white onion to your wok. Drop everything from the small bowl of ingredients you prepared at step 5 into your beef pan. Add the snipped dried whole chillies  and remaining ginger and garlic to your chicken pan. Stir-fry all briefly, until the onion has become translucent, the ingredients in the chicken and beef pans have become fragrant.

12. Push the onions into the centre of the wok to form a thick line. Put the rice on one side of the onions and the beaten egg on the other. Leave for about 30 seconds (while you crack on with the next two steps).

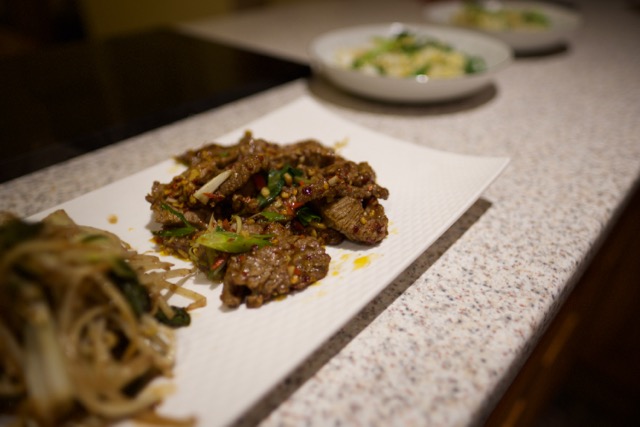
13. Add the beef to your beef pan and stir well. Remove from the heat.

14. Add the sauce to the chicken pan, stirring as it thickens. Add the chicken, stir to make sure it is well-covered with the sauce, and remove from the heat.

15. Mix the egg, onion, and rice in the wok so that the egg and onion are evenly distributed amongst the rice. Add a handful of chopped scallions and mix again. Remove the wok from the heat.

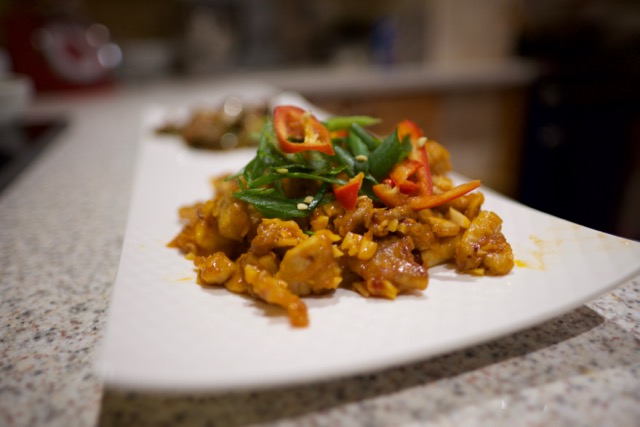
16. Stir 1 tsp of sesame oil and half the remaining scallions into the beef; do the same with the chicken. Scatter the diagonally-sliced scallions and red chilli over the chicken to serve.  I served the egg-fried rice in small bowls and the other three dishes along a long serving platter, allowing us to fight over the last piece of chicken just tuck in!
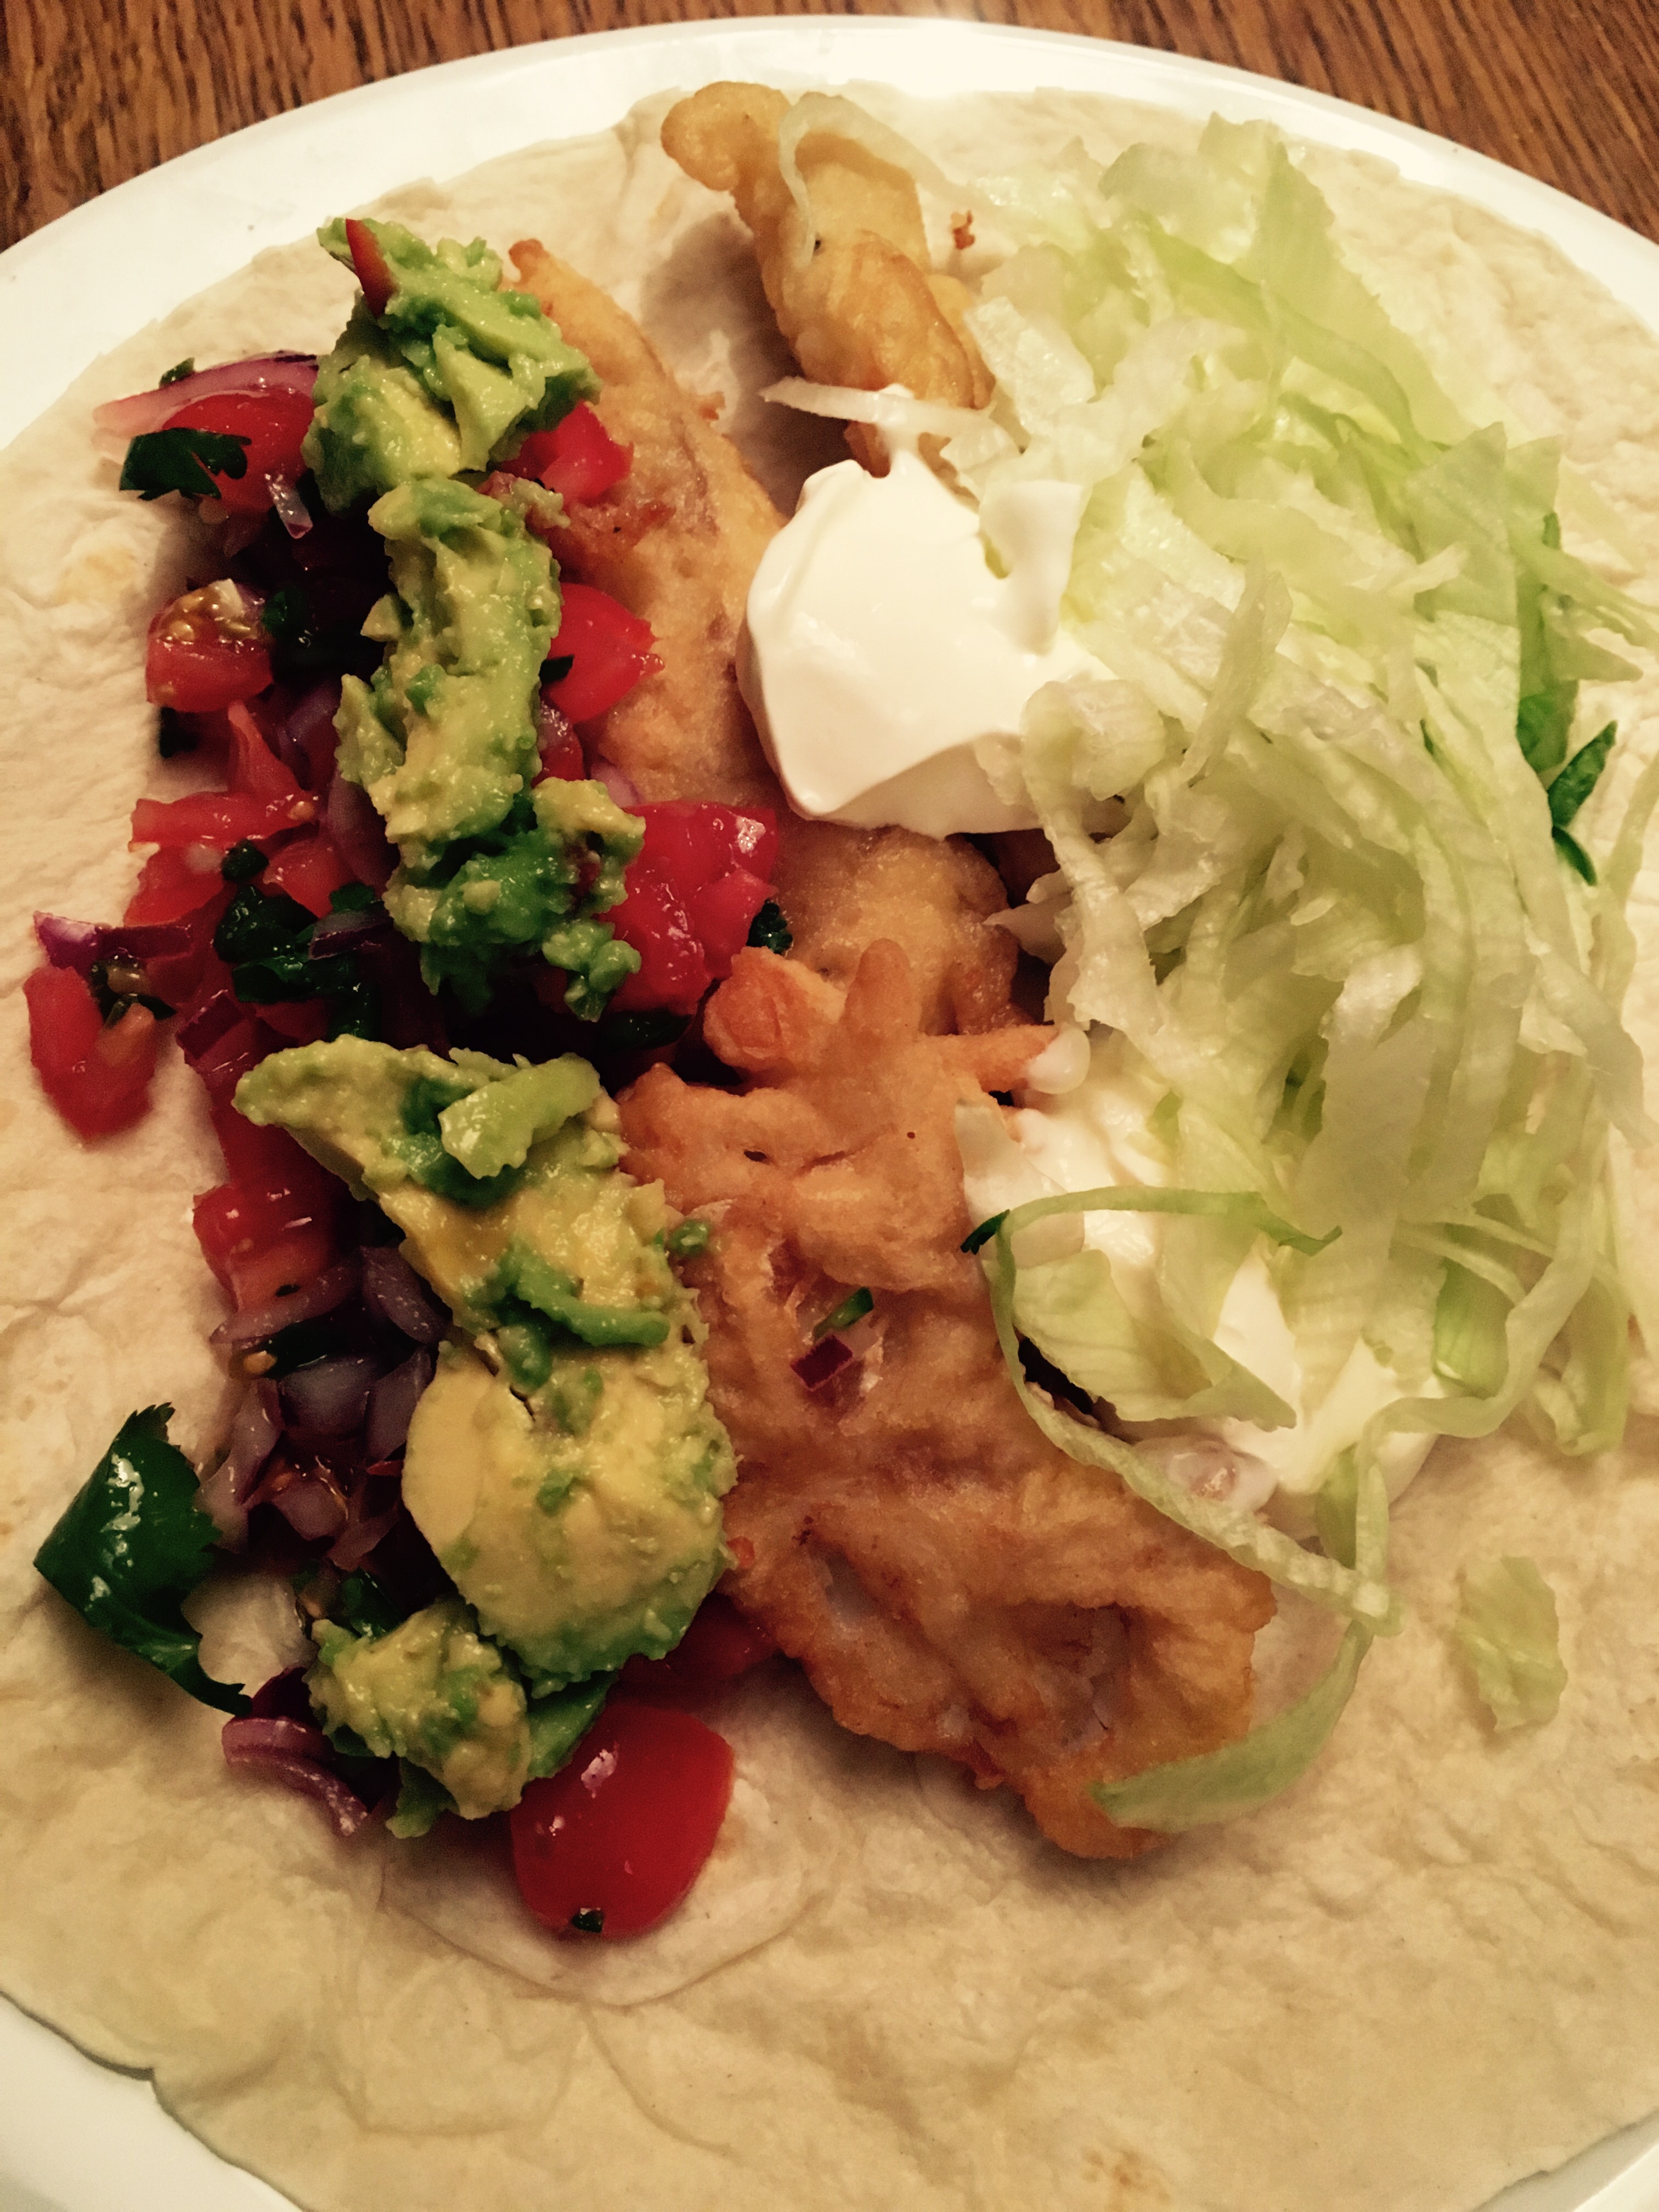
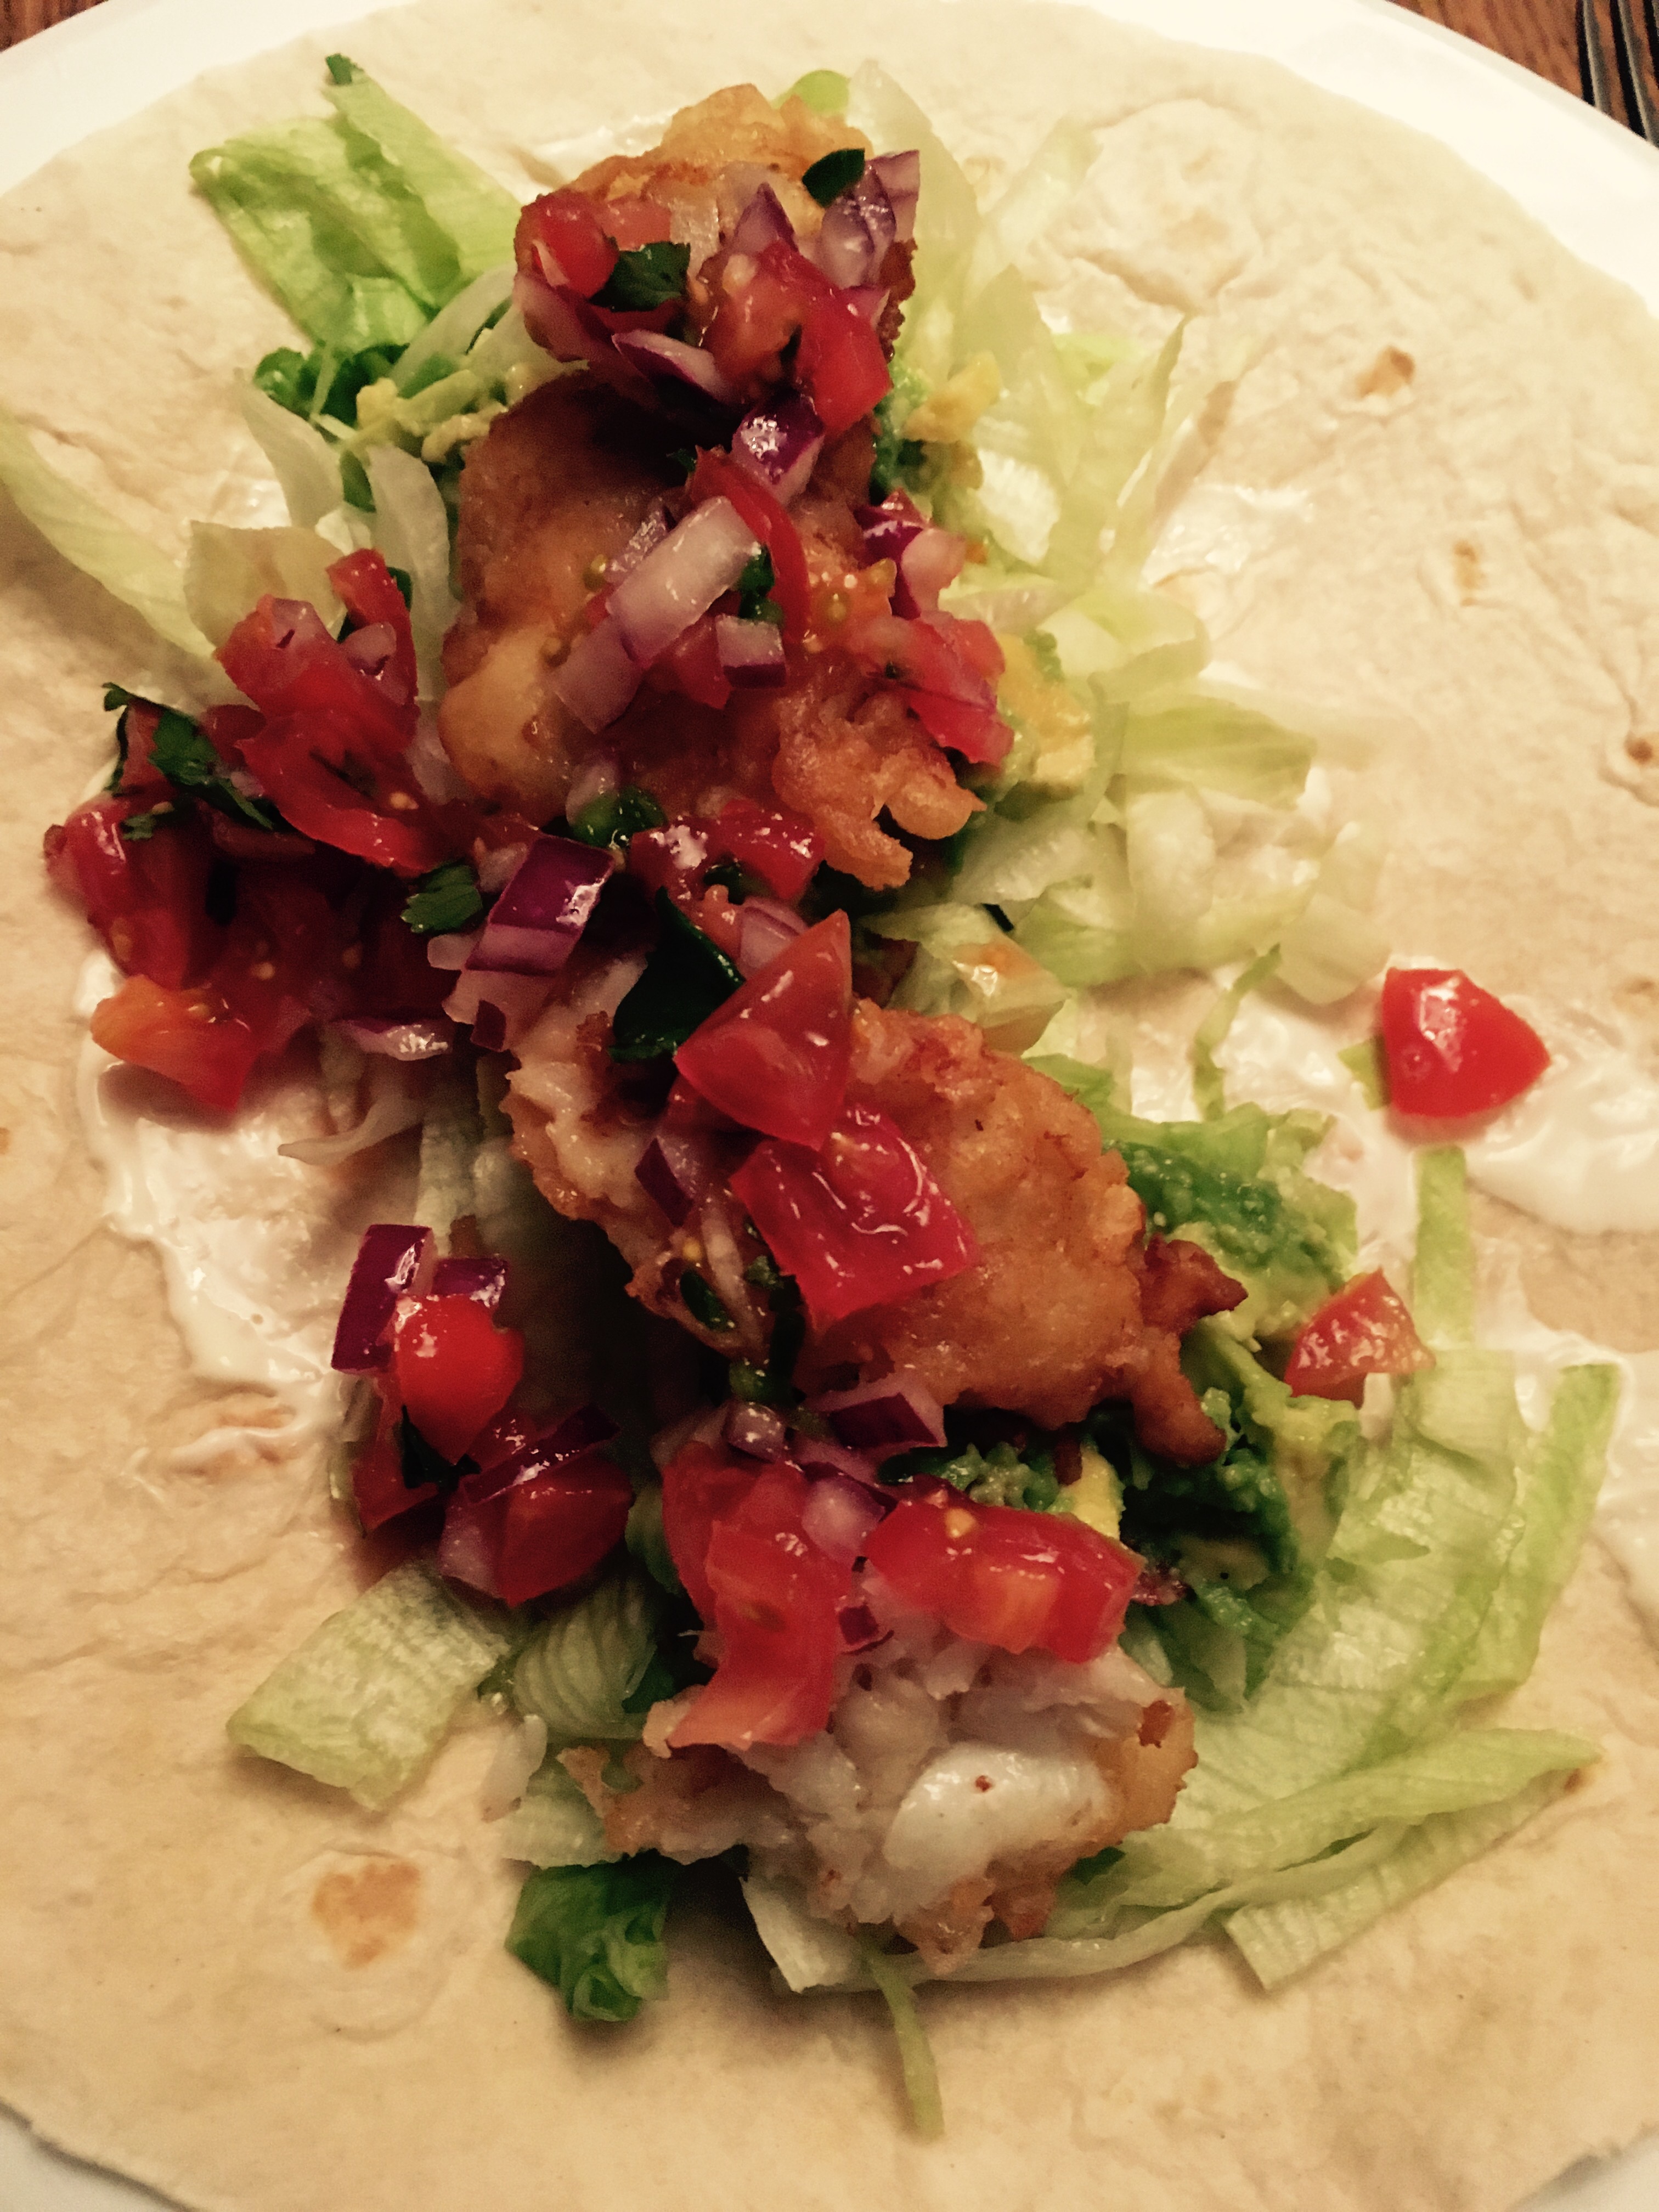
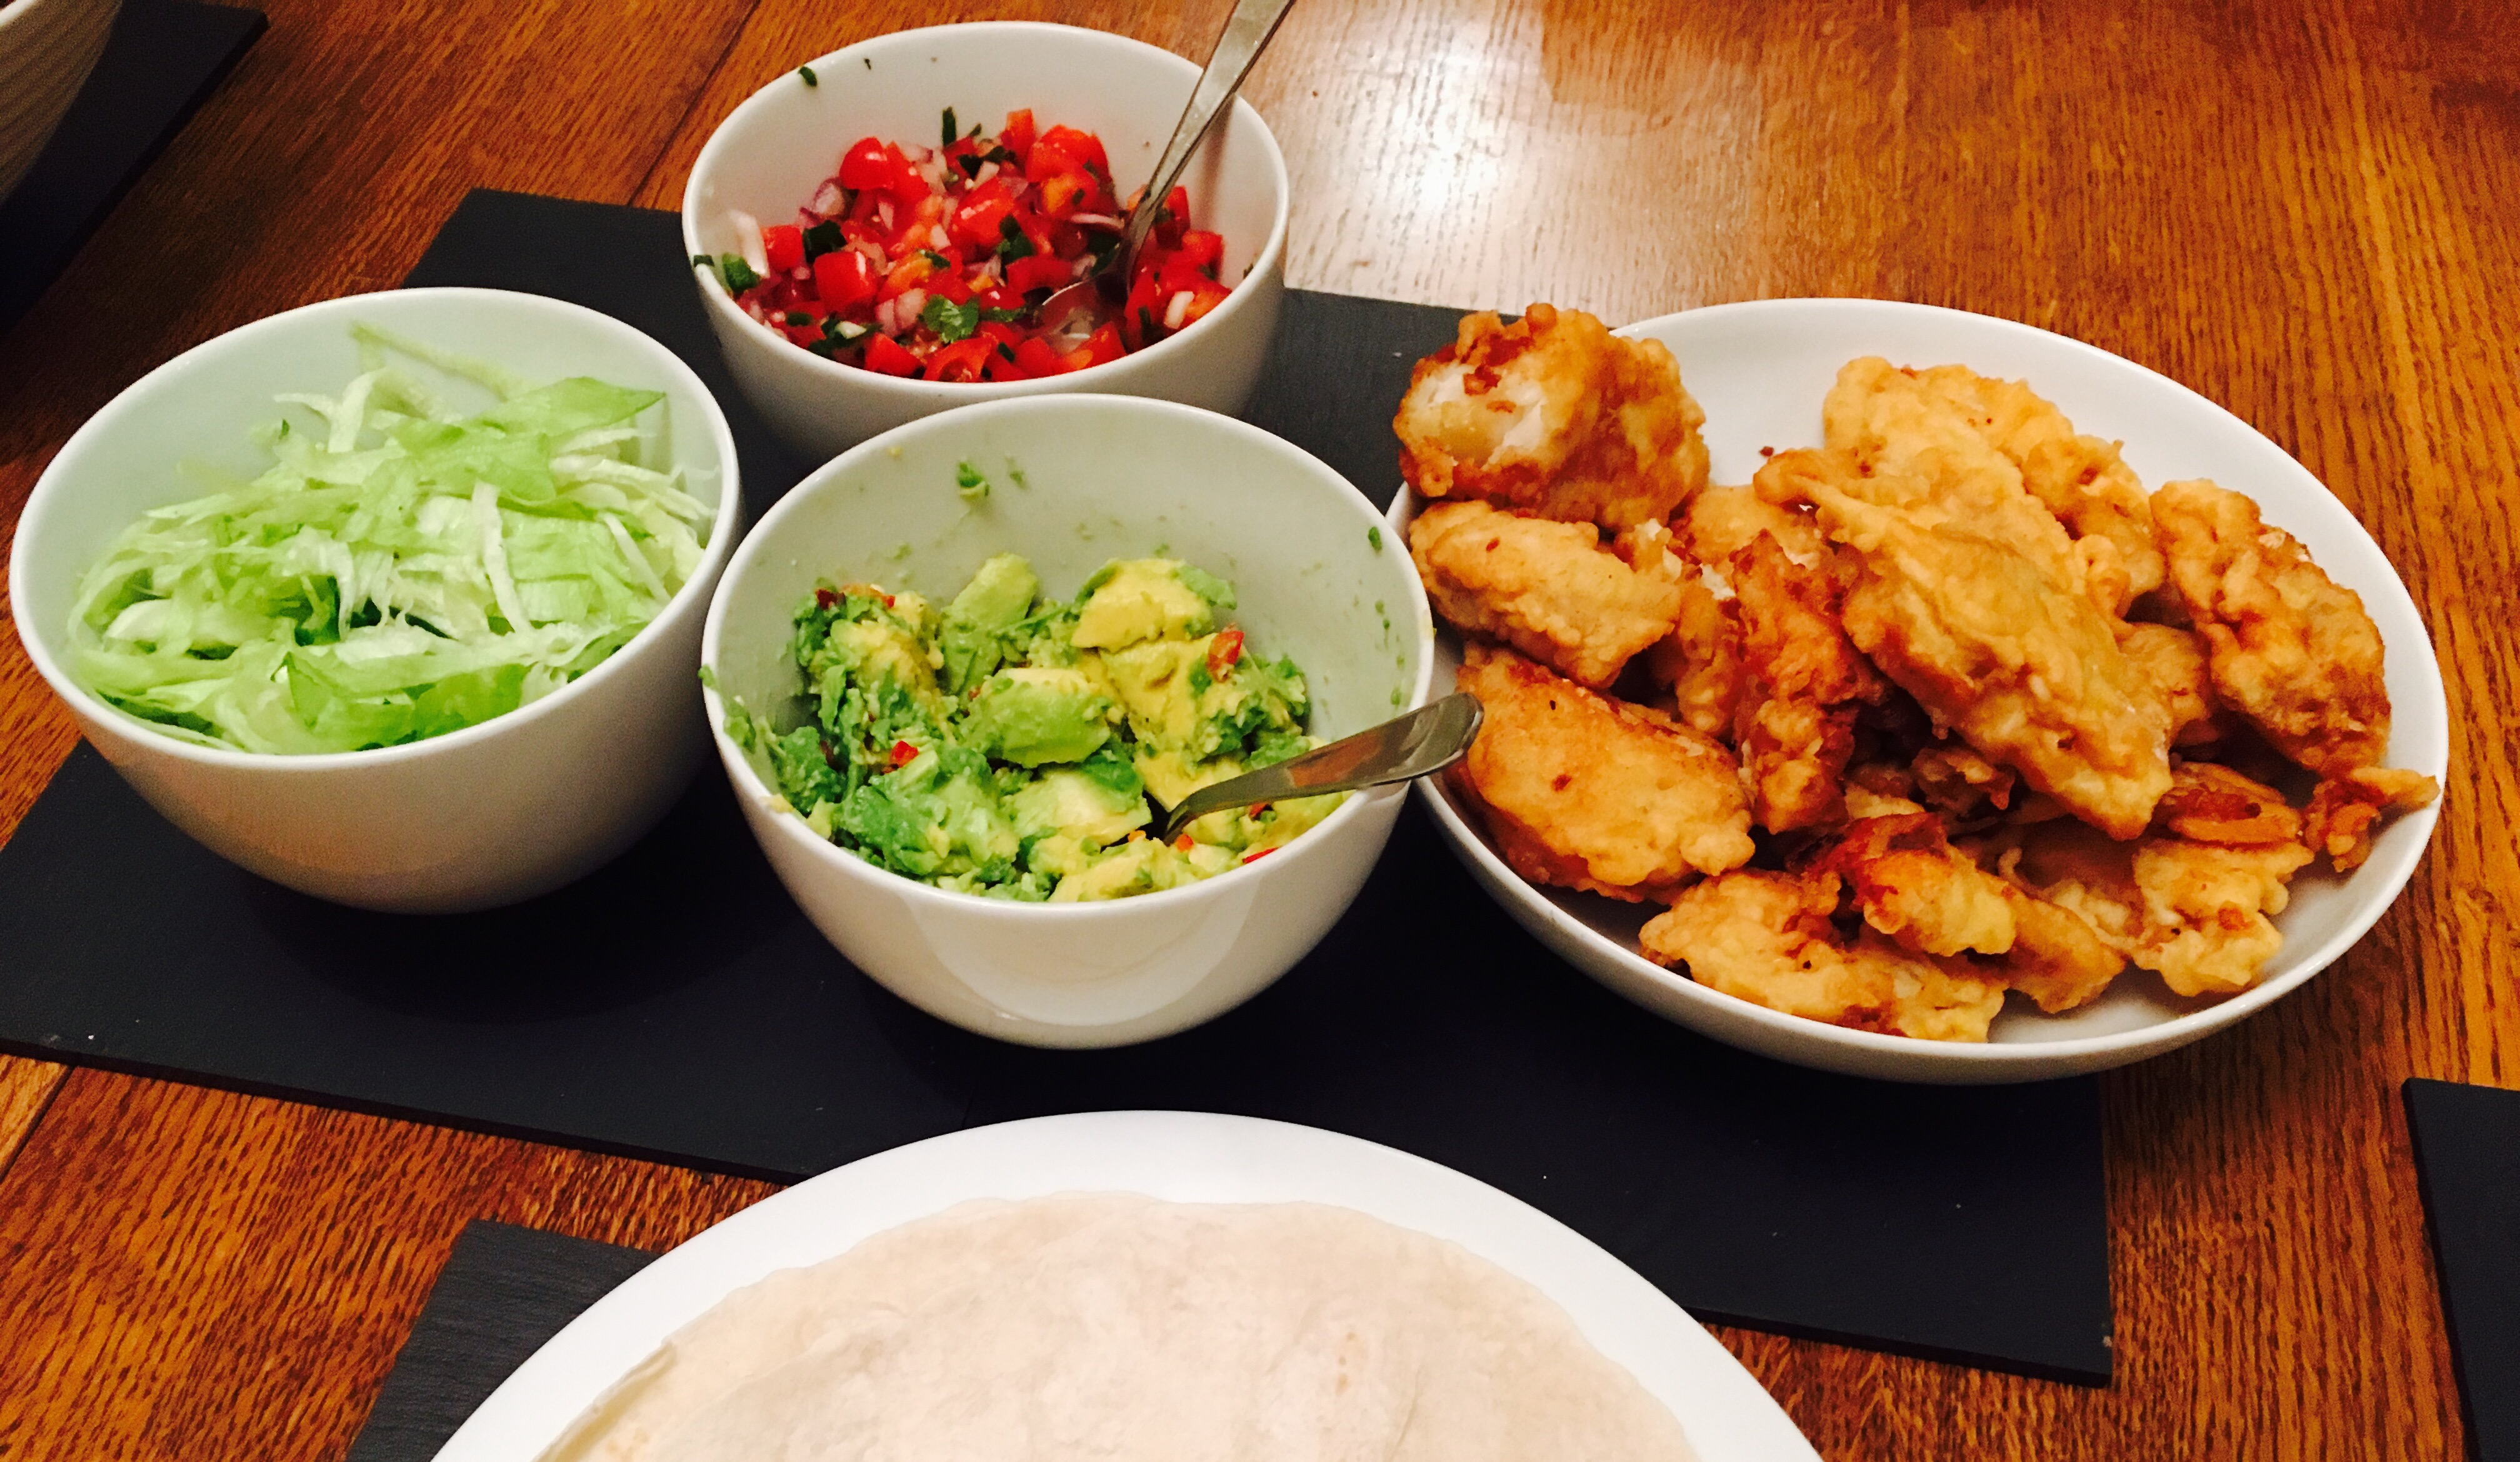
dscf3503

dscf3513

dscf3514

dscf3511

dscf3517